Food warmers are essential in both commercial kitchens and home settings, ensuring that meals stay at the perfect temperature until served. They keep food at the perfect temperature, ensuring it stays fresh and ready to serve. Whether you are running a bustling restaurant or hosting a small gathering at home, keeping your food warmers in top condition is crucial for ensuring food safety, taste, and good presentation. However, food warmers require regular maintenance to function optimally and extend their lifespan . Here’s a comprehensive guide to mastering food warmer maintenance.
Understanding Your Food Warmer: Types and Components
Before diving into maintenance tips, it’s essential to understand the different types of food warmers and their components. Food warmers come in various forms, each designed for specific uses:
- Chafing Dishes: Often used in catering and buffets, these are portable and utilize fuel-based heat to keep food warm.
- Electric Food Warmers: Common in both commercial and residential kitchens, they use electricity to maintain food temperature.
- Drawer Warmers: Built into kitchen counters, these are ideal for keeping bread, pastries, and other baked goods warm.
- Steam Tables: Used in cafeterias and restaurants, these warmers use steam to keep large quantities of food at a safe serving temperature.
- Insulated Food Carriers: Insulated food carriers, often used in home cooking and catering, designed to maintain the temperature of food. They do not actively heat food but use insulation to keep it warm for hours.

Each type of warmer has unique components such as heating elements, stainless steel, thermostats, lids e.t.c. Familiarizing yourself with these parts will help you identify issues and perform maintenance tasks more effectively.
Daily Cleaning Routine
Regular cleaning is the foundation of food warmer maintenance. Neglecting this simple task can lead to a buildup of food residue, grease, and other contaminants, which can affect the performance and lifespan of the food warmer. After each use, allow the warmer to cool down completely before cleaning.
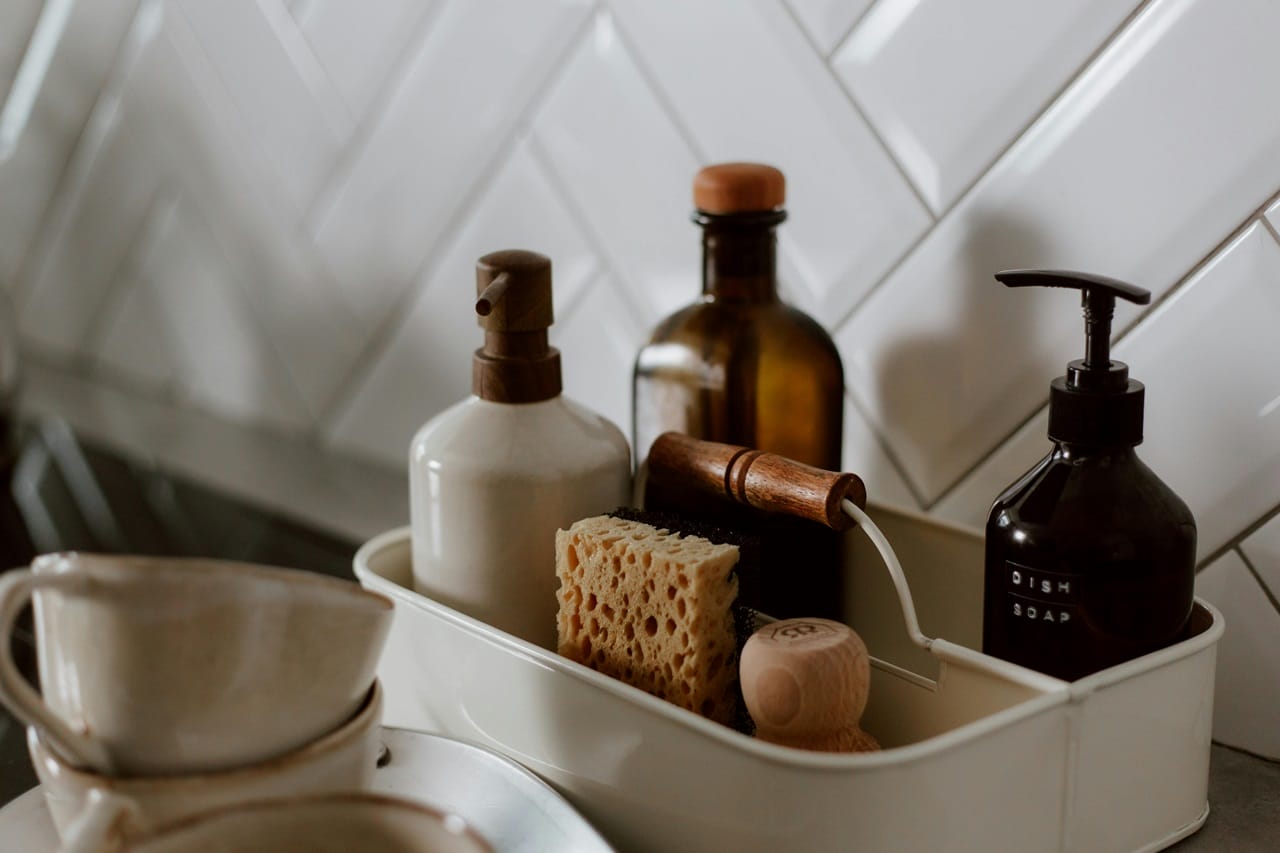
Exterior Cleaning: Most food warmer breakdowns stem from improper or infrequent cleaning. Daily exterior cleaning is essential, especially when dealing with greasy, buttery, or sugary products. Use a non-abrasive cloth and mild dish detergent to wipe down the exterior surfaces. Avoid using wire brushes, detergents or cleaners containing alkaline, acids, salts or chlorine, as these can cause damage to the stainless steel surface of the food warmer.
Water Basin Cleaning: You should empty and clean the basin every day if your warmer uses a water bath. Over time, hard water deposits may lead to corrosion or vessel failure over time.
Descaling: If you notice mineral deposits forming, especially in areas with hard water, regularly descale your food warmer. You can use a mixture of vinegar and water to remove these deposits. Simply fill the water basin with the solution, let it sit for a few hours, then rinse thoroughly.
Ventilation: Make sure your kitchen is well-ventilated. Proper airflow can help maintain the efficiency of your food warmer and prevent overheating.

Proper Usage: Extending the Life of Your Food Warmer
How you use your insulated food carrier plays a significant role in its longevity. Improper usage can lead to premature wear and tear, so it’s essential to follow best practices.
- Avoid Overloading: Do not overload your carrier with too much food. Overloading can strain the insulation and cause uneven temperature distribution. Follow the manufacturer’s guidelines for the maximum capacity of your food warmer.
- Preheat or Pre-cool Before Use: For best results, some food warmers need to be preheated or pre-cooled before adding food. This helps maintain the desired temperature for longer periods. Use hot water or cold packs to prepare the carrier, depending on whether you’re transporting hot or cold food.
- Minimize Opening Time: When loading or unloading food, minimize the amount of time the carrier is open. Prolonged exposure to air can cause the temperature to drop, reducing the effectiveness of the insulation.
- Storage: When not in use, store the food warmer in a dry, cool place. A humid climate can affect the performance of your food warmer. Ensure that the appliance is stored in a dry place when not in use to prevent rust and corrosion. Cover it with a protective cover to prevent dust and debris from accumulating.
- Handle with Care: When moving or transporting your insulated food warmer, handle it with care to avoid damaging the insulation or other components. Use both hands to lift and carry the warmer, and avoid dropping or banging it against hard surfaces.
- Read the Manual: Always refer to the manufacturer’s guidelines for specific maintenance instructions. Each food warmer model may have unique requirements, and following these guidelines ensures that you maintain your warranty and keep your warmer in the best possible condition that are essential for optimal performance.
Conclusion
In conclusion, maintaining your insulated food carrier is not just about preserving the equipment itself. It’s about ensuring the quality and safety of the food you serve. By adopting a routine of regular cleaning, thorough inspections, and proper usage, you can significantly extend the lifespan of your carrier and keep it performing at its best. Whether you’re a caterer, food delivery professional, or event host, a well-maintained food carrier is crucial for keeping your meals fresh, delicious, and at the perfect temperature. Invest time in proper maintenance, and your insulated food carrier will continue to support your culinary endeavors with reliability and efficiency, meal after meal.


